How to Set Up Automated Blog Publishing on WordPress in 2026
Setting up automated blog publishing on WordPress means configuring a system where articles are generated, optimized, and published to your WordPress site on a set schedule — without you manually writing or uploading content. In 2026, this workflow is achievable in under 2 hours using the Authenova platform and its native WordPress plugin. This tutorial walks through every step.
Prerequisites: WordPress site (self-hosted), Authenova account, admin access to WordPress.
Estimated time: 60–90 minutes for complete setup.
Step 1: Install the Authenova WordPress Plugin
Time: 5 minutes
- Log into your WordPress admin dashboard.
- Navigate to: Plugins > Add New Plugin.
- In the search box, type “Authenova”.
- Click “Install Now” next to the Authenova plugin.
- After installation completes, click “Activate Plugin”.
- You should now see “Authenova” in your left sidebar menu under Settings.
Alternative installation method: If the plugin isn’t in the WordPress directory, download the .zip file from your Authenova account > Settings > WordPress Plugin. Then: Plugins > Add New > Upload Plugin > select the .zip file > Install and Activate.
Step 2: Connect Plugin to Your Authenova Account
Time: 5 minutes
- In your Authenova account, navigate to Settings > API Keys.
- Click “Generate New API Key”. Copy the key (it won’t be shown again).
- In WordPress, navigate to Settings > Authenova.
- Paste your API key into the “API Key” field.
- Click “Save Settings”.
- Click “Test Connection”. You should see a green “Connected” confirmation.
If the connection test fails, verify: (1) the API key was copied correctly, (2) your WordPress site has outbound HTTPS access, (3) you’re using the correct API key for your account tier.
Step 3: Configure Publishing Defaults
Time: 10 minutes
In the Authenova plugin settings, configure how published posts should appear in WordPress:
- Post type: Select “Post” for blog articles or a custom post type if you use one.
- Default author: Select the WordPress user account that published articles should be attributed to.
- Default category: Select or create a category (e.g., “AI SEO” or “Content Marketing”).
- Post status override: Set to “As scheduled” to honor the Authenova schedule, or “Draft” if you want to review before final publish.
- SEO plugin integration: If using Yoast or RankMath, enable the integration to automatically populate focus keyword, meta title, and meta description fields.
- Click “Save Settings”.
Step 4: Set Up Content Strategy in Authenova
Time: 20–30 minutes
In Authenova’s Strategy Builder:
- Click “New Strategy”.
- Enter strategy name (e.g., “AI SEO Cluster — authenova.site”).
- Fill in brand voice: describe your writing style, tone, and personality in 2–3 sentences.
- Describe target audience: demographics, job role, what they’re searching for.
- Add keywords: paste your list of target keywords with volume data.
- Set content type ratios: pillar 20%, cluster 50%, supporting 30% is a good starting point.
- Select language and target countries.
- Link to your WordPress website (select from connected sites).
- Click “Save Strategy”.
This configuration becomes the instruction set for every article the AI generates. Take time to write a precise brand voice description — this is the highest-impact configuration for article quality. Marketing automation teams use the same configuration precision when setting up automated sequences: CampaignOS’s setup guide shows how brand voice configuration quality directly affects campaign performance.
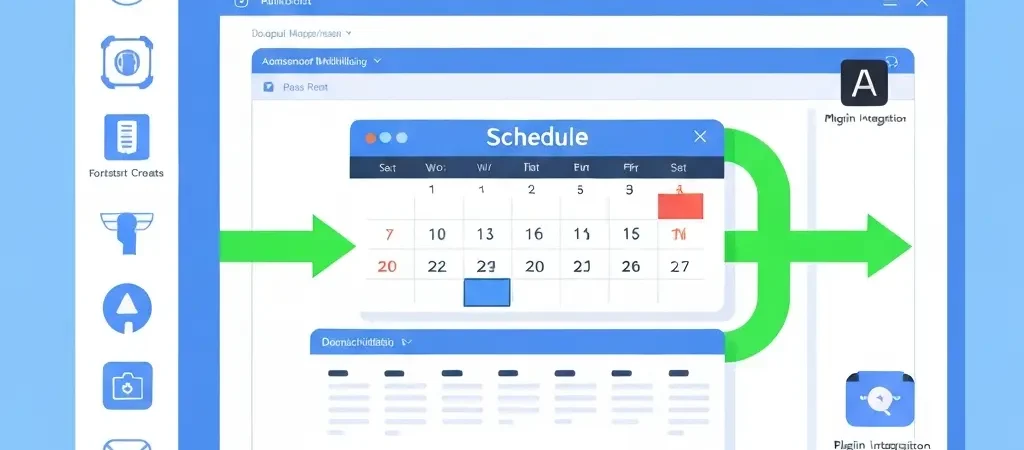
Step 5: Configure the Publishing Calendar
Time: 5–10 minutes
- In your strategy settings, navigate to “Scheduling”.
- Set publish days: select which days of the week articles should publish (e.g., Monday, Wednesday, Friday).
- Set publish times: enter times in your target timezone (e.g., 09:00, 14:00).
- Set max articles per run: start with 1–2 (prevents flooding your site; builds steady topical authority signal).
- Set content priority: PILLAR articles generate first, followed by CLUSTER, then SUPPORTING.
- Set workflow mode: SCHEDULED (generates and schedules) or AUTO_PUBLISH (publishes immediately on generation).
- Click “Activate Strategy”.
Recommended settings for new sites: Publish days: Mon/Wed/Fri. Times: 09:00. Max per run: 1. Mode: SCHEDULED (allows review window).
Step 6: Test and Activate Auto-Publishing
Time: 10 minutes
- In Authenova, navigate to Content > Create Manual Article.
- Select your strategy, enter a test keyword, set type to CLUSTER.
- Click “Generate”.
- Once generated, review the article in Authenova’s content editor.
- Click “Publish Now”.
- In WordPress, navigate to Posts > All Posts. Your article should appear published or scheduled.
- Check that: title is correct, featured image is assigned, meta tags are populated, schema is present (use Google’s Rich Results Test: search.google.com/test/rich-results).
If everything looks correct, your automated publishing workflow is live. The strategy will now generate and publish articles automatically according to your configured schedule.
Troubleshooting Common Issues
| Issue | Likely Cause | Fix |
|---|---|---|
| Connection test fails | Wrong API key or firewall blocking | Regenerate API key; whitelist Authenova IPs |
| Articles not publishing | Strategy not activated or wrong timezone | Check strategy status = ACTIVE; verify timezone |
| No featured image | Image generation still processing | Wait 5–10 min; check image jobs dashboard |
| Meta tags not populated | SEO plugin integration not enabled | Enable Yoast/RankMath integration in plugin settings |
| Duplicate articles generated | Same keyword in strategy twice | Review strategy keywords; remove duplicates |
For help with academic content automation on similar platforms, Tesify’s thesis writing guide provides a parallel tutorial for automated research assistance setup.
FAQ
How do I automatically publish blog posts on WordPress?
To automatically publish blog posts on WordPress: (1) Install the Authenova WordPress plugin, (2) Connect it to your Authenova account via API key, (3) Configure a content strategy with keywords, brand voice, and publishing schedule, (4) Activate the strategy. Articles will generate and publish automatically on your configured schedule without manual intervention.
Does WordPress have a built-in auto-publishing feature?
WordPress has a built-in scheduling feature that publishes articles at a set date and time, but it doesn’t generate the content. For truly automated publishing — where content is created AND published automatically — you need an external platform like Authenova connected via its WordPress plugin. WordPress scheduling only handles the publishing timing, not the content creation.
Is automated WordPress publishing safe for SEO?
Yes, when using a quality-focused automation platform. Authenova generates content that follows Google’s quality guidelines: comprehensive, helpful, schema-marked articles targeting specific keywords. The automation itself doesn’t affect SEO negatively. What matters is content quality — automated high-quality content ranks as well as manually published content.
Can I review articles before they auto-publish?
Yes. Set your Authenova strategy workflow mode to “SCHEDULED” rather than “AUTO_PUBLISH”. In SCHEDULED mode, articles are generated and placed in a scheduled queue, giving you a review window before they go live. You can edit, reschedule, or reject any article before it publishes. DRAFT mode is also available if you want to review every article manually before scheduling.
Set Up Automated Publishing in 90 Minutes
Follow this guide with Authenova and have your first automated articles publishing to WordPress today. The setup takes less time than writing a single article manually.